
Furniture Repair: Tips for Restoring Pieces and Repairing Household Furniture
When a favorite piece of furniture shows signs of wear or damage, it can feel like a loss. But before you think about replacing it, consider the joy and satisfaction of restoring it yourself. Repairing household furniture is not only a smart way to save money but also a chance to preserve memories and add character to your home. I’m here to guide you through practical tips that make the process straightforward and rewarding.
Understanding the Basics of Repairing Household Furniture
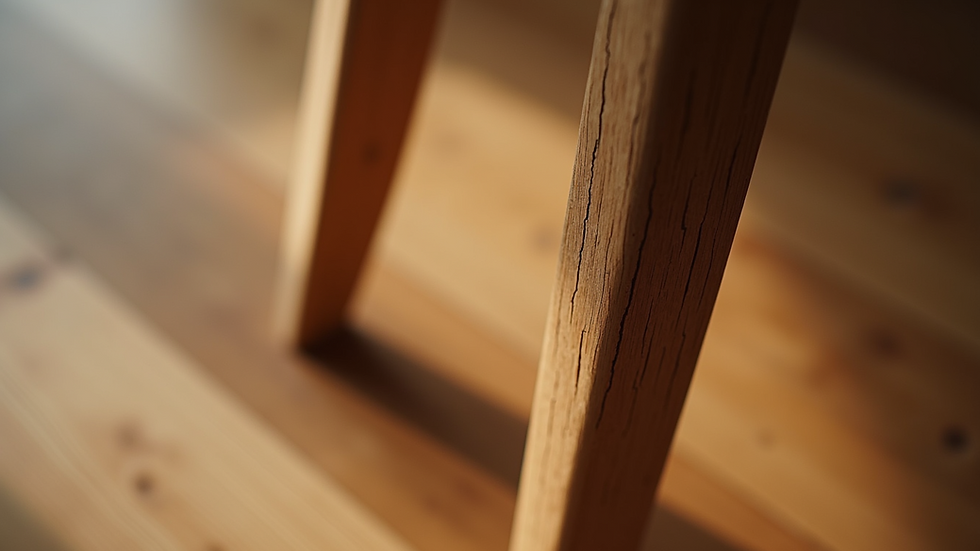
Before diving into repairs, it’s important to understand the type of furniture you have and the materials it’s made from. Wood, metal, and upholstery all require different approaches. Start by inspecting the piece carefully:
Look for loose joints, cracks, or missing parts.
Check for surface damage like scratches, stains, or dents.
Identify if the finish is worn or peeling.
Once you know what you’re dealing with, you can gather the right tools and materials. For wood furniture, you might need wood glue, clamps, sandpaper, and stain or paint. For metal, consider rust remover and metal polish. Upholstery repairs often require fabric, needles, and thread or even a staple gun.
Taking the time to assess the damage helps you plan your repair steps and avoid surprises. It also ensures you don’t waste money on unnecessary supplies.
Step-by-Step Tips for Restoring Furniture
Restoring furniture can be broken down into manageable steps. Here’s a simple process I follow that you can adapt to your project:
Clean the piece thoroughly. Dust and dirt can hide damage and interfere with adhesives or finishes. Use a mild soap and water solution or a specialized cleaner depending on the material.
Tighten loose joints. Apply wood glue to loose joints and clamp them until dry. For metal, tighten screws or bolts.
Fill cracks and holes. Use wood filler for small cracks or dents. Sand smooth once dry.
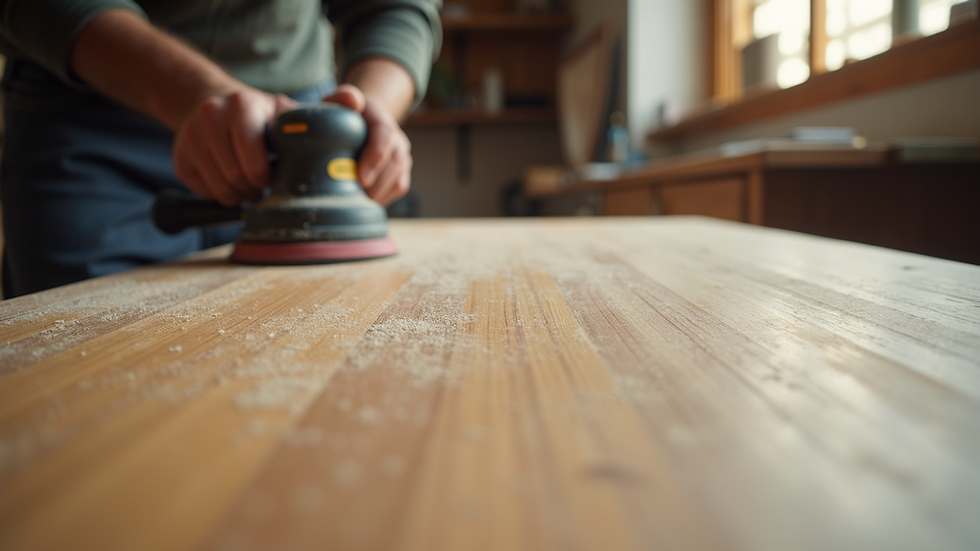
Sand the surface. Light sanding removes old finish and smooths imperfections. Always sand in the direction of the grain.
Apply stain or paint. Choose a finish that matches or enhances the original look. Apply thin coats and allow drying time between layers.
Protect the finish. Use a clear sealant or wax to protect your work and add shine.
Repair upholstery if needed. Patch small tears or replace fabric on cushions. Re-stuff if the padding is flat.
Taking your time with each step ensures a professional-looking result. Don’t rush, and remember that patience pays off.
How Much Do Furniture Restorers Charge?
If you prefer to hire a professional, it’s helpful to know what to expect in terms of cost. Furniture restorers typically charge based on the complexity of the job, the materials needed, and the time involved. Here’s a rough breakdown:
Minor repairs like tightening joints or fixing small scratches can cost between $50 and $150.
Refinishing surfaces such as sanding and staining may range from $150 to $500 depending on size.
Upholstery repairs or replacements often start around $200 and can go up significantly for custom fabrics or intricate work.
Structural repairs for antique or heavily damaged pieces might cost $300 or more.
Keep in mind that prices vary by region and the restorer’s experience. It’s a good idea to get multiple quotes and ask for references. Sometimes, investing in professional help saves time and ensures the piece is restored correctly.
Tools and Materials You’ll Need for DIY Furniture Repair
Having the right tools makes all the difference. Here’s a list of essentials that cover most furniture repair projects:
Wood glue and clamps
Sandpaper (various grits)
Wood filler or putty
Paintbrushes and rags
Stain, paint, or finish
Screwdrivers and pliers
Hammer and nails or brads
Upholstery needle and thread
Staple gun and staples
Cleaning supplies (mild soap, soft cloths)
You don’t need to buy everything at once. Start with the basics and add tools as your projects grow. Many hardware stores offer kits designed for furniture repair, which can be a convenient way to get started.
When to Call in the Experts
Sometimes, a piece needs more than a quick fix. If you notice major structural damage, extensive water or insect damage, or if the furniture is an antique with high value, it’s wise to consult a professional. They have the skills and equipment to handle complex repairs safely.
If you want to save time and avoid frustration, consider booking a trusted service. For example, furniture repair professionals can assess your piece and provide expert restoration that lasts.
Bringing New Life to Old Furniture
Restoring furniture is a wonderful way to refresh your home without buying new items. It’s eco-friendly, budget-conscious, and deeply satisfying. Whether you fix a wobbly chair, refinish a tabletop, or reupholster a favorite armchair, you’re preserving a piece of your home’s story.
Remember, every scratch and dent tells a story. With a little care and effort, you can keep those stories alive for years to come. So grab your tools, roll up your sleeves, and enjoy the process of turning your to-do list into a done list. Your furniture - and your home - will thank you.
Happy repairing!


Comments